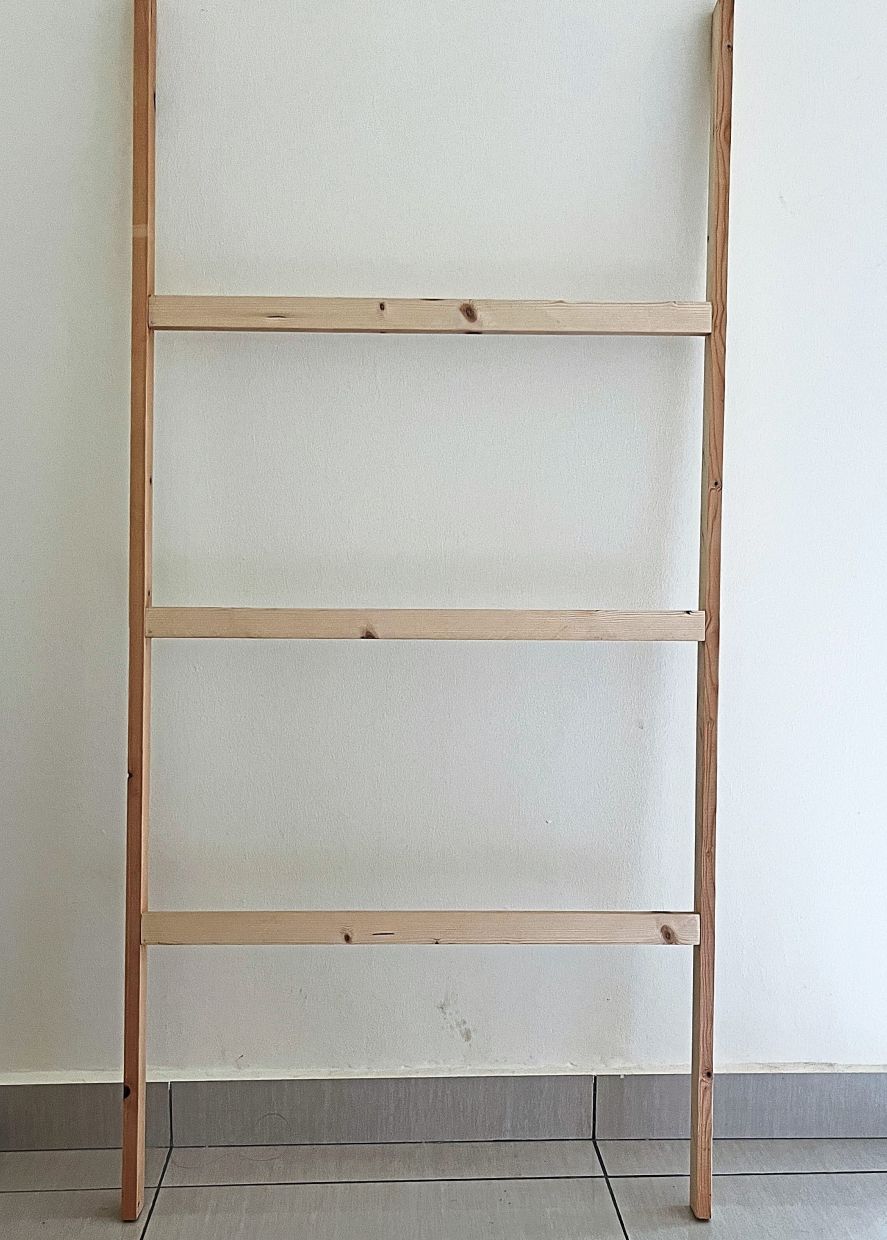
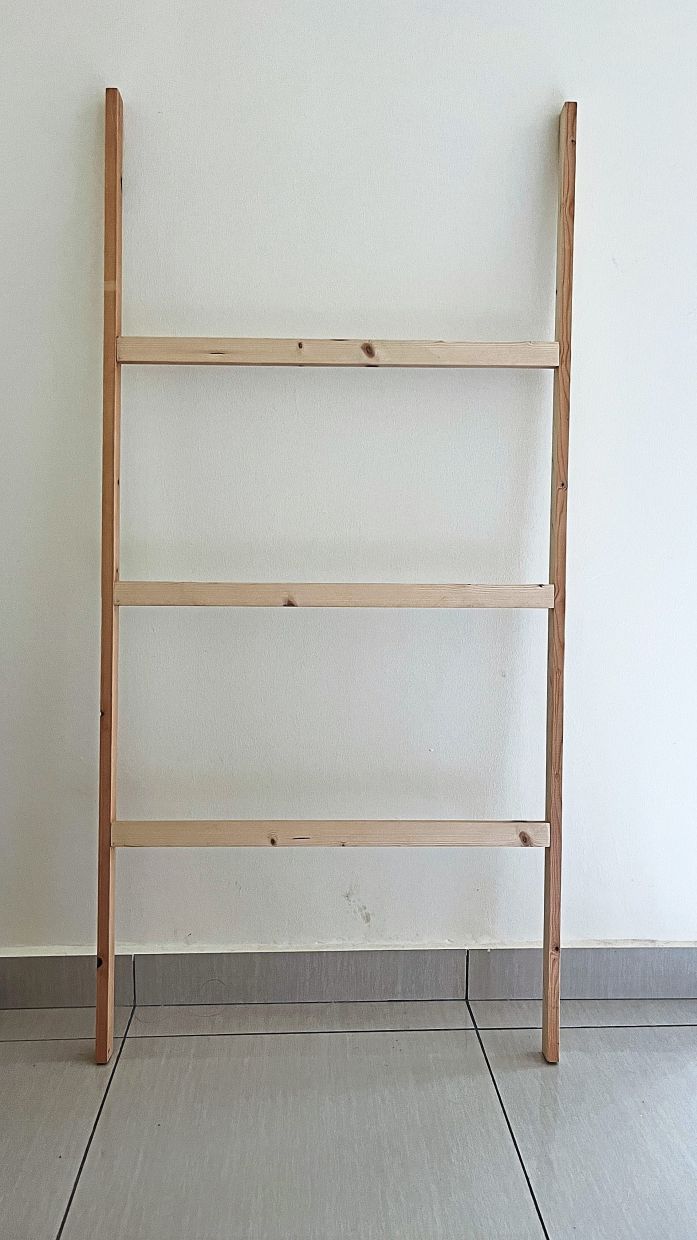
Use the ladder rack to hang prayer mats, clothes or towels. Photos: Aida Ihsani
As we embrace the holy month of Ramadan, let’s channel the spirit of creativity and practicality with a DIY project that serves as a versatile solution for our homes – a ladder rack.
It’s a simple yet stylish piece that is freestanding and does not need to be secured to the wall.
Crafted with the intention of enhancing our Ramadan preparations and daily routines, this ladder rack embodies the essence of resourcefulness and mindful living. With just a few basic materials and tools, we can transform basic wood pieces into a practical and aesthetically pleasing addition to our homes.
Whether you’re seeking a dedicated space to hang prayer mats during the sacred month or looking to maximise storage options for towels in your bathroom, this ladder rack offers a customisable solution to suit your needs. This DIY project is so easy, you would hardly break a sweat this Ramadan.
So, let’s embark on this creative journey together by crafting a ladder rack that seamlessly integrates into our homes. We’ll not only enhance our living spaces during this blessed season but also enrich our daily lives for years to come. Let’s dive in and make Ramadan even more special!
PROJECT – Ladder rack
Materials
Legs – 2 pieces x 150cm
Rungs – 3 pieces x 70cm
Tools
Ruler
Jigsaw/Hand saw
Drill driver and screws
Sander
Personal Protective Equipment (PPE)
Mask
Goggles
1. Let’s kick off the DIY fun by prepping our materials!
2. Time to get cutting! Carefully cut the measured pieces using a jigsaw or hand saw. And don’t forget your safety gear – mask and goggles on!
3. Once the pieces are all cut, let’s smooth things out with a sander. Give those surfaces some TLC, paying extra attention to rounding off those edges to avoid any sneaky splinters.
4. With the leg pieces laid out, let’s mark out where the rungs will go on the outside, making sure they’re spaced out just right.
5. Grab your trusty drill driver and countersink drill bit. Drill some holes on those leg pieces you marked earlier.
6. Swap out the drill bit for a Phillips bit and start attaching those rungs to the leg pieces with screws. Give each connection a good tightening to keep our ladder rack sturdy and ready for action!
7. You have made a simple but practical rack for your home.
Aida Ihsani is a self-taught DIYer and woodworker with over eight years of experience. Through her women’s woodworking workshops, she has empowered over 1,000 women from all walks of life to be confident in using power tools and start their DIY journey. For more on Aida’s workshop, visit www.aidaihsani.com or @iamaidaihsani on Instagram.


